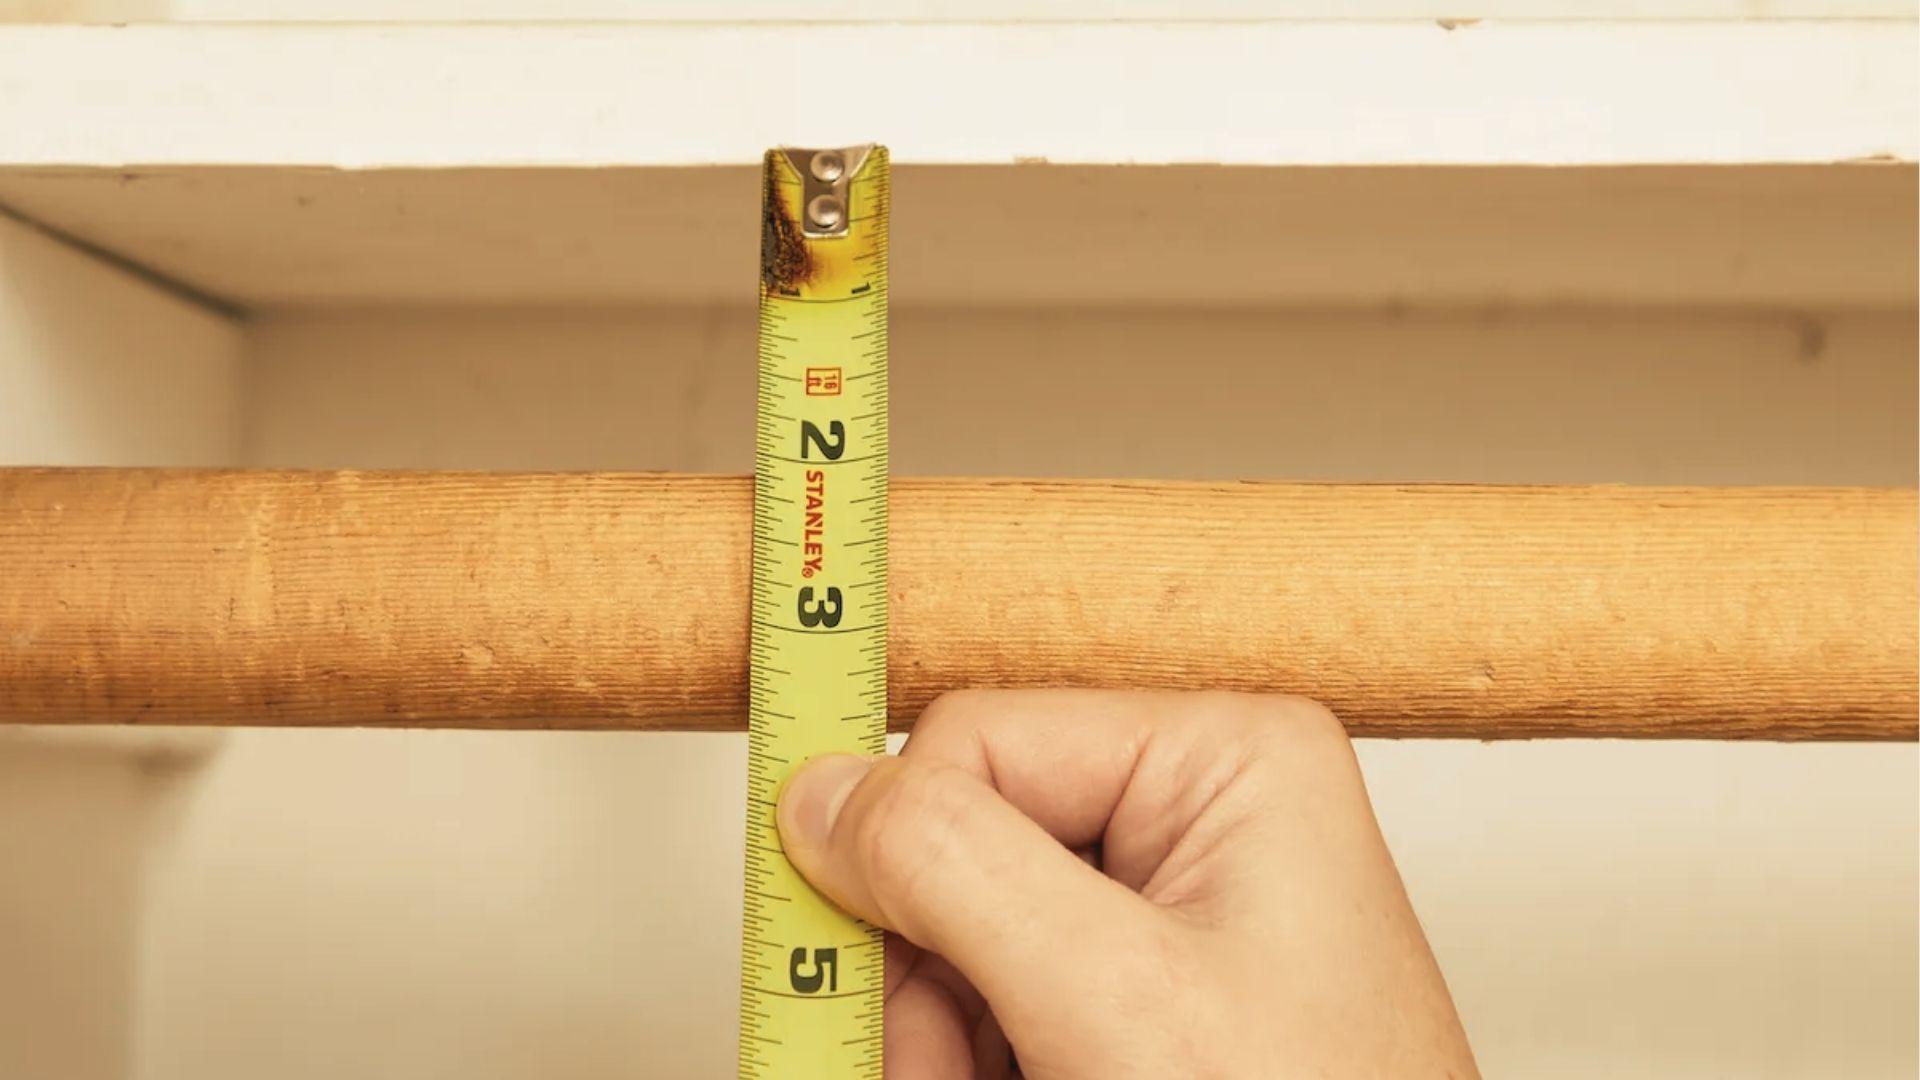
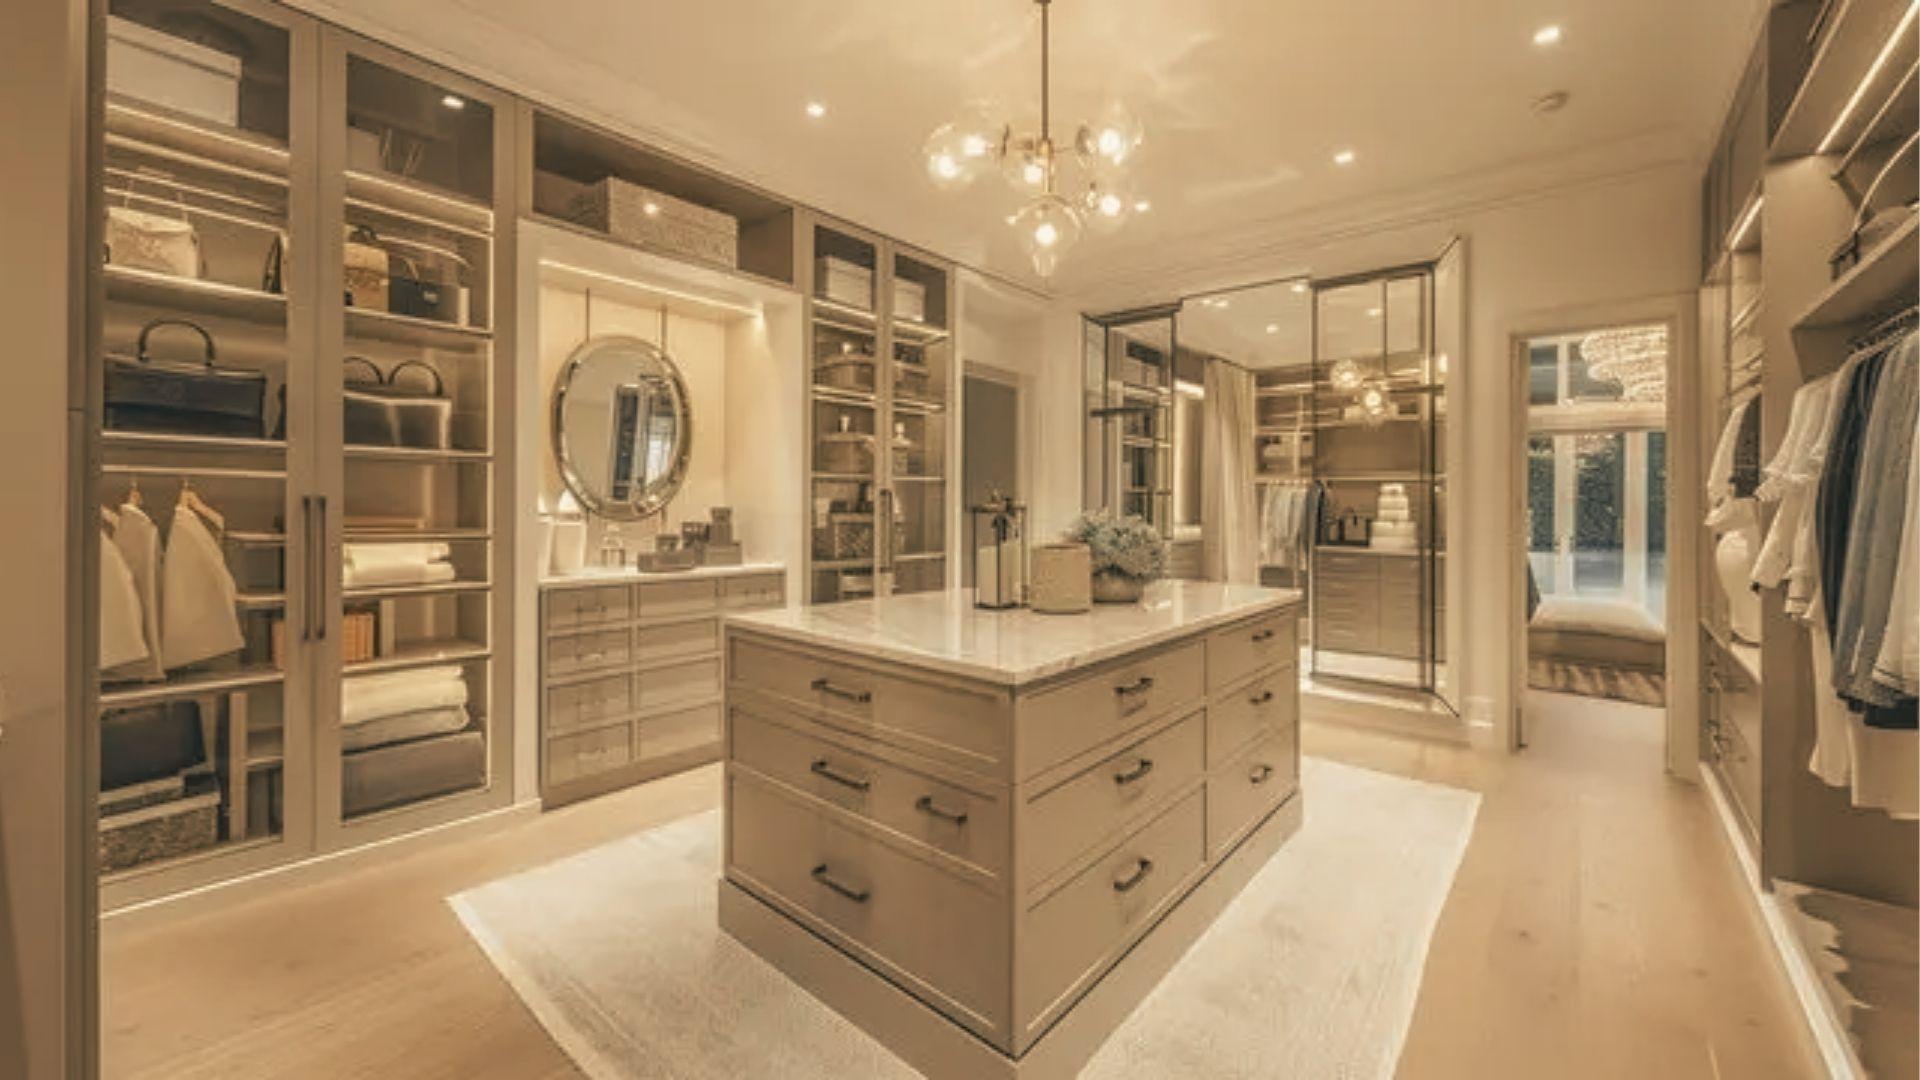
I still remember the first time I tried closet rod installation on my own. I was not sure where to start, but once I figured it out, the whole process felt so rewarding.
If you are looking to add more storage space or simply fix a sagging rod, you are in the right place.
In this blog, I will walk you through the tools you need, the right height to follow, how to pick the best kit, and the correct dimensions to make your closet rod installation a success.
Understanding Closet Rod Installation Basics for a Strong Setup

Before anything else, getting the basics right is what makes a closet rod hold strong for years. I learned this the hard way when my first rod came loose after just a few weeks.
The key is knowing your wall type, picking the right bracket, and placing the rod at the correct height.
When these three things come together, your closet becomes more functional and your clothes stay safe. A little planning at the start saves a lot of fixing later.
Types of Closet Rod Installation Systems Explained
Knowing your options helps you choose the right system for your closet from the start.
Fixed Closet Rod Installation vs Adjustable Rod Systems
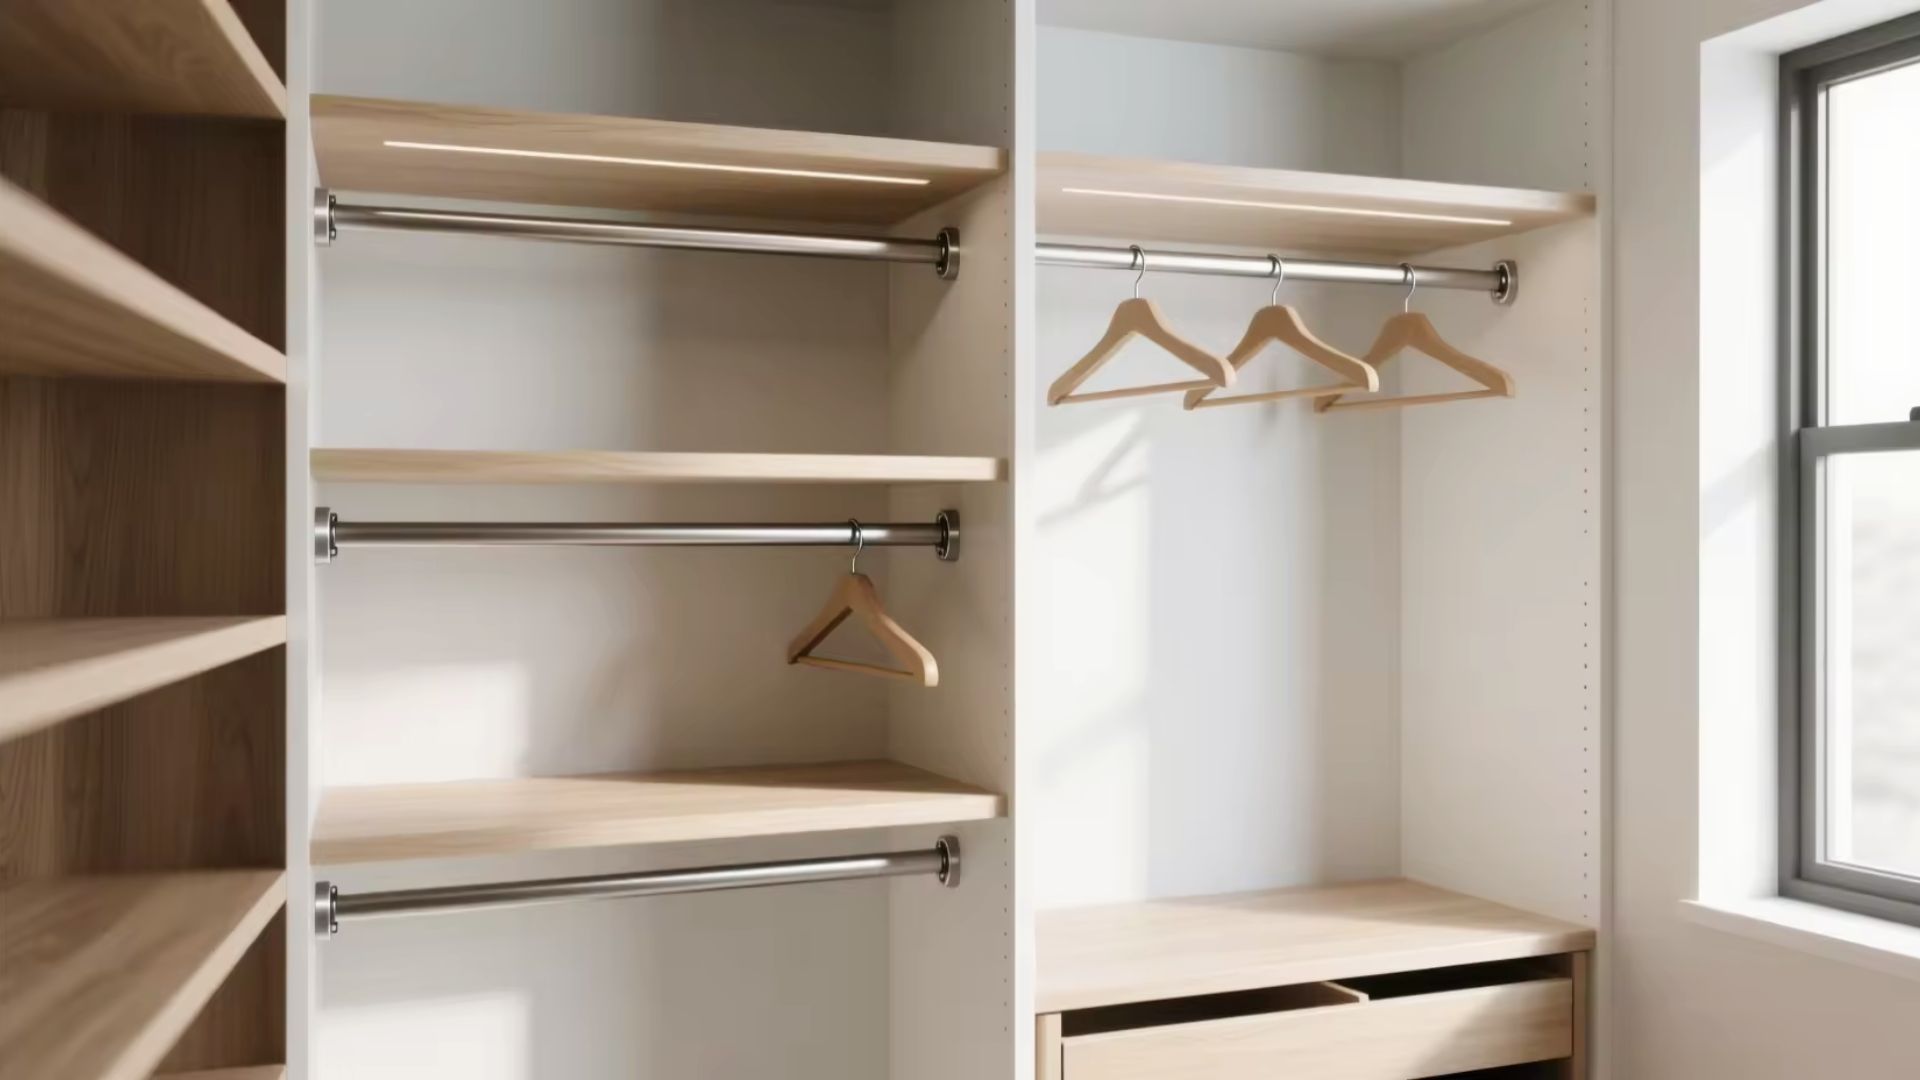
Fixed rods are screwed into the wall using brackets and stay in one place. Adjustable systems use tracks or telescoping rods that can be changed in height or length.
If you think your storage needs will change, adjustable systems are the better choice.
Easy Closet Rod Installation Using Brackets and Supports
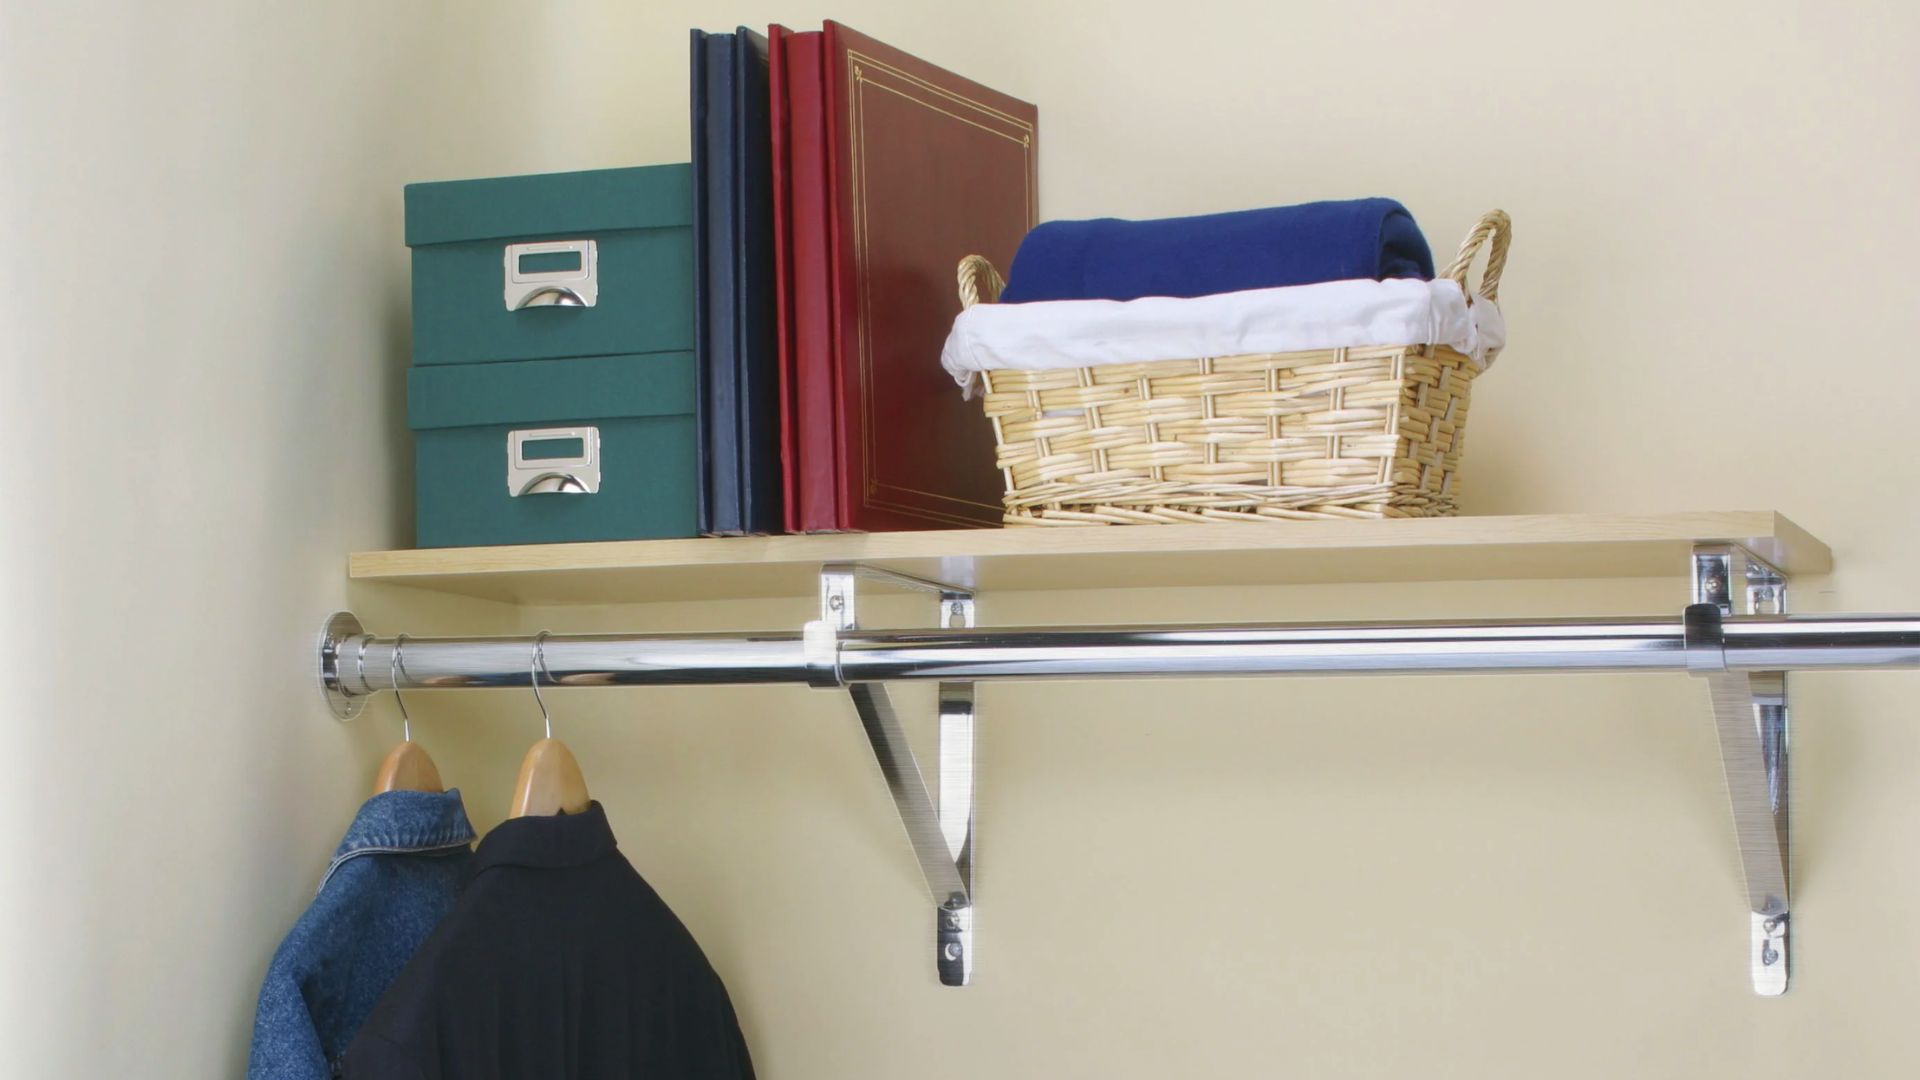
Bracket-based systems are the most common and straightforward to set up. You mount brackets on both walls and drop the rod into place.
For rods longer than 48 inches, always add a center support to prevent bowing.
Pull Down Closet Rod Installation for High Storage Spaces
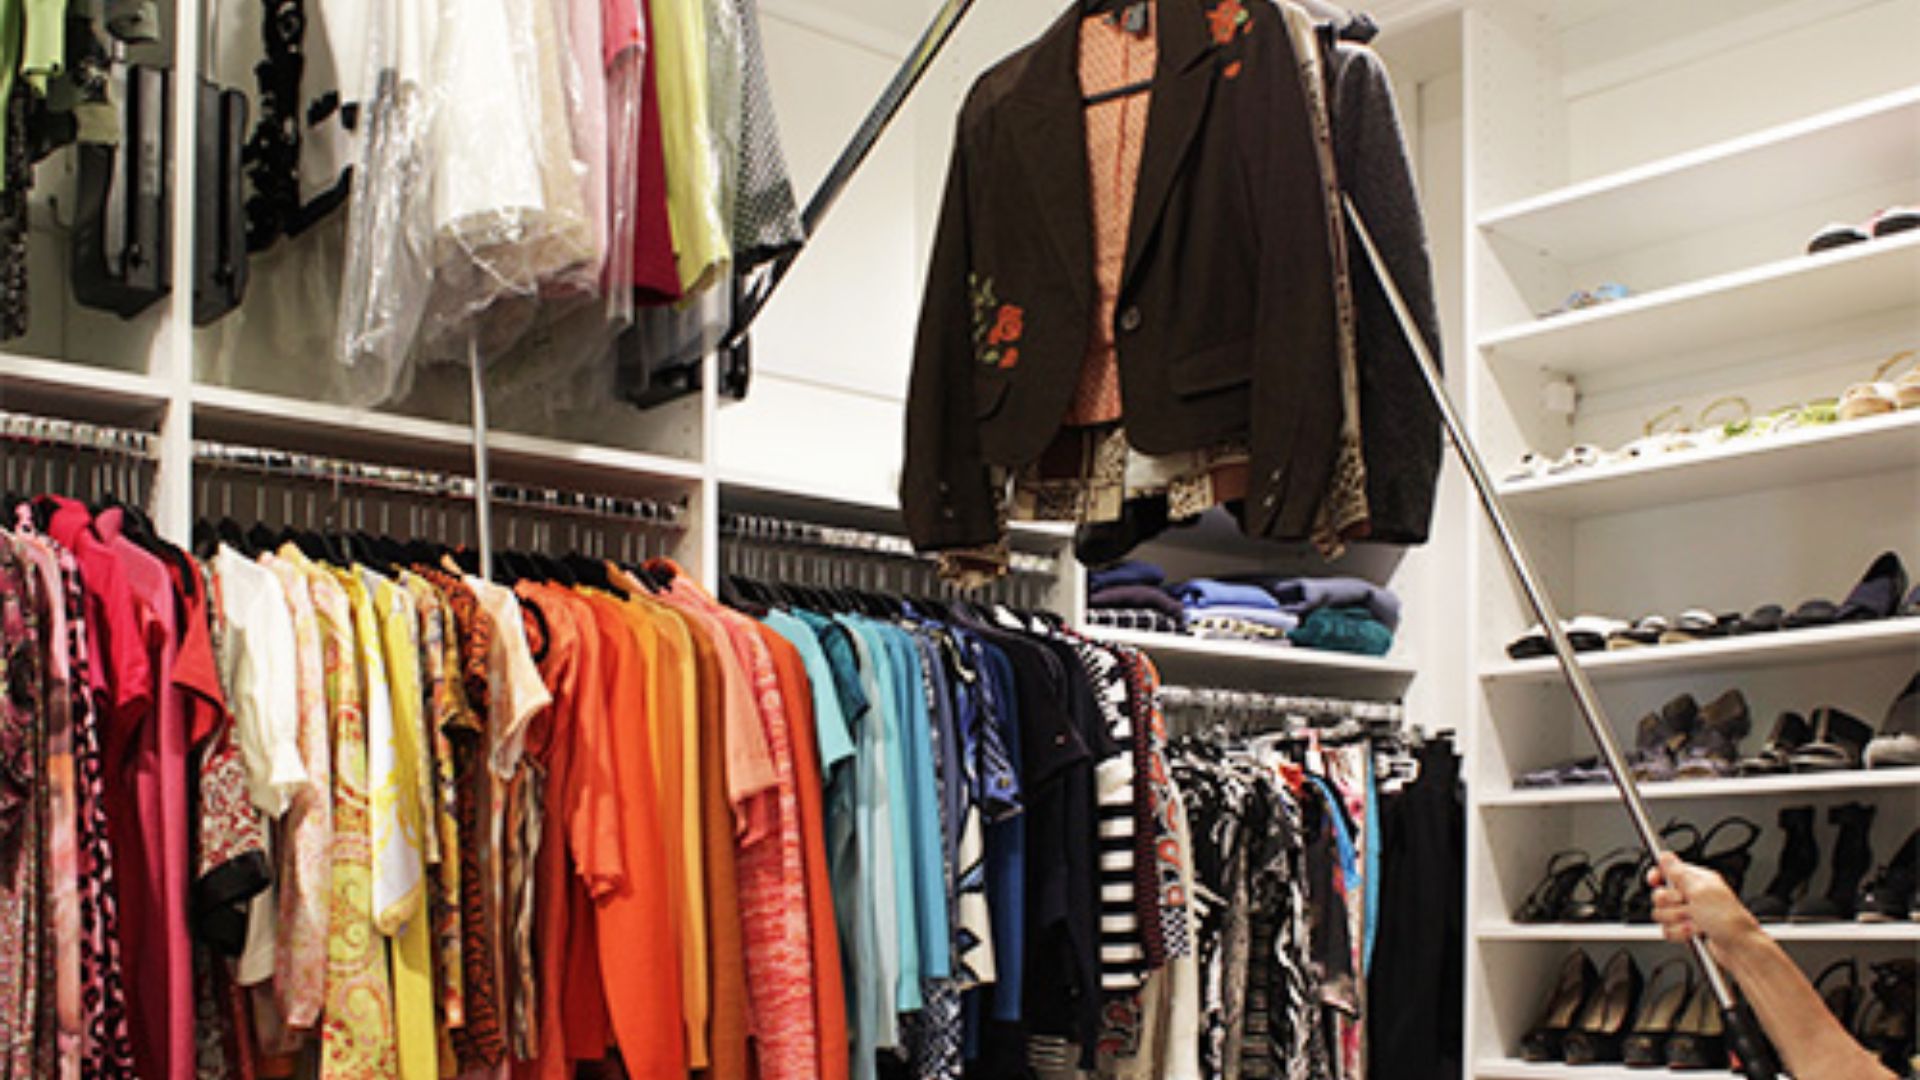
Pull down rods are mounted high and brought down to reach level when needed. They work well in reach-in closets where upper wall space usually goes unused.
Once installed, you no longer need a step stool to access high-hanging clothes.
Step-by-Step Closet Rod Installation Process
Follow each step in order and your rod will be level, secure, and ready to hold your clothes.
Step 1: Measure Your Closet Space Accurately
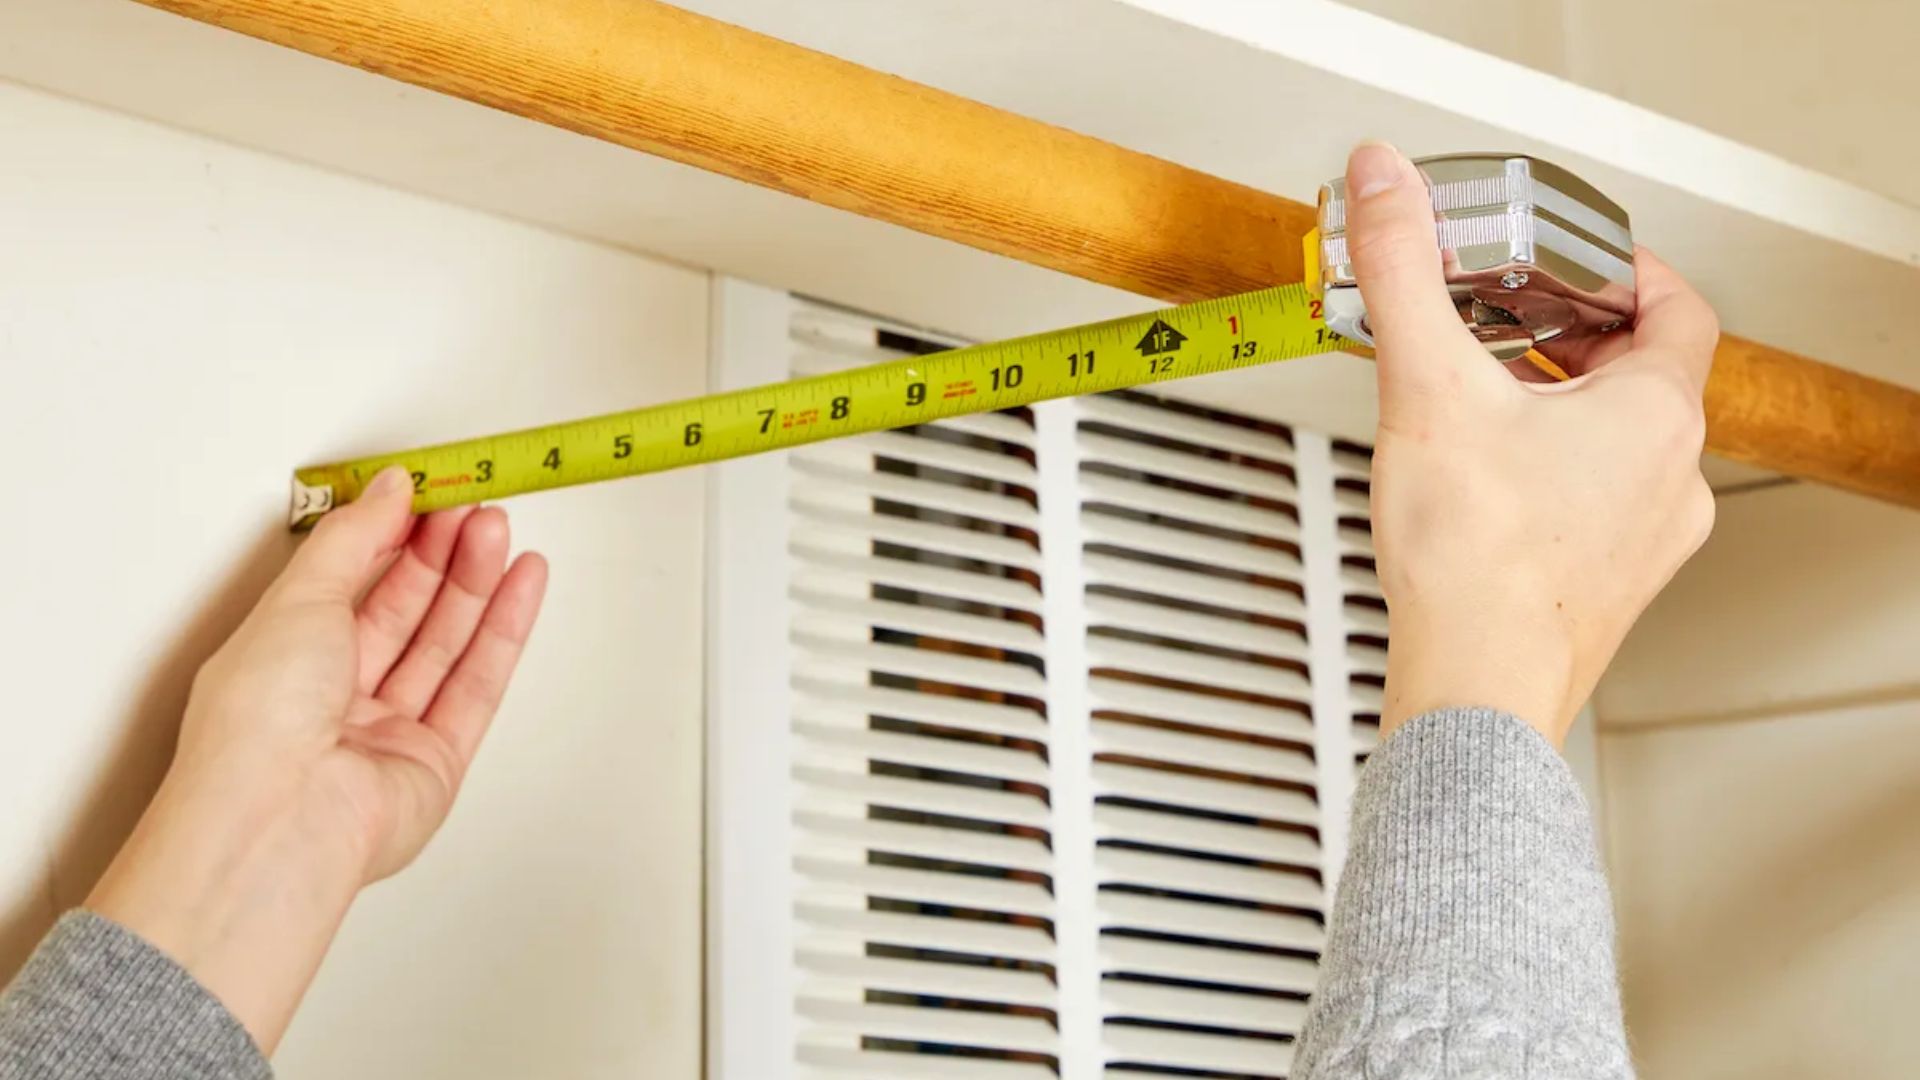
Measure the width of your closet from wall to wall to know the rod length you need. Also check the depth to make sure hangers can swing freely without hitting the back wall.
A minimum depth of 24 inches is recommended for standard clothing.
Step 2: Decide the Closet Rod Installation Height

For full-length items, place the rod between 66 and 72 inches from the floor. For a double rod setup, set the top rod at 80 inches and the lower rod at about 40 inches.
Mark your chosen height on the wall before moving forward.
Step 3: Locate Wall Studs for Strong Support

Use a stud finder to locate studs and mark them lightly with a pencil. Brackets screwed into studs hold far more weight than those in drywall alone.
If studs are not in the right spot, use heavy-duty wall anchors instead.
Step 4: Mark Bracket Positions Clearly and Check Level
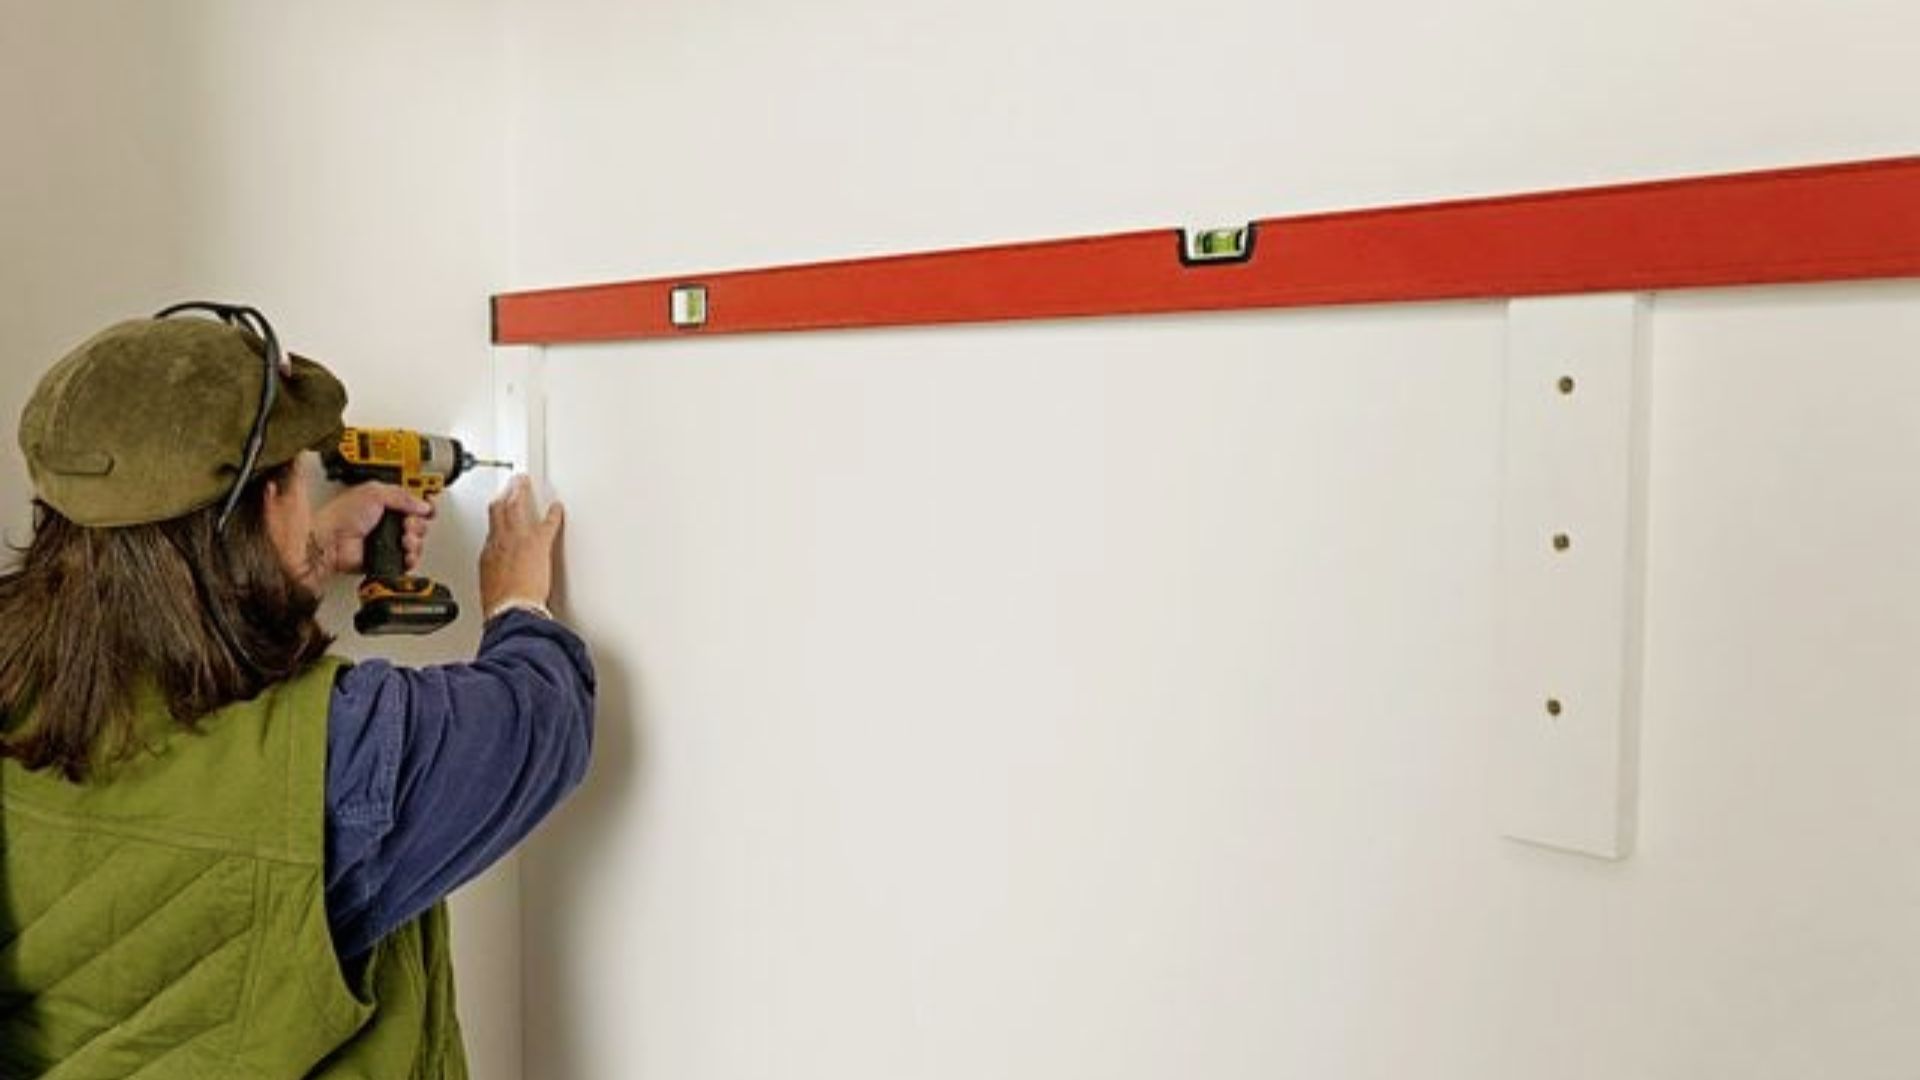
Mark both bracket positions at the same height on the wall. Use a level to confirm both marks are even before drilling. If one side is even slightly off, the rod will tilt and clothes will slide to one end.
Step 5: Drill Pilot Holes for Secure Installation
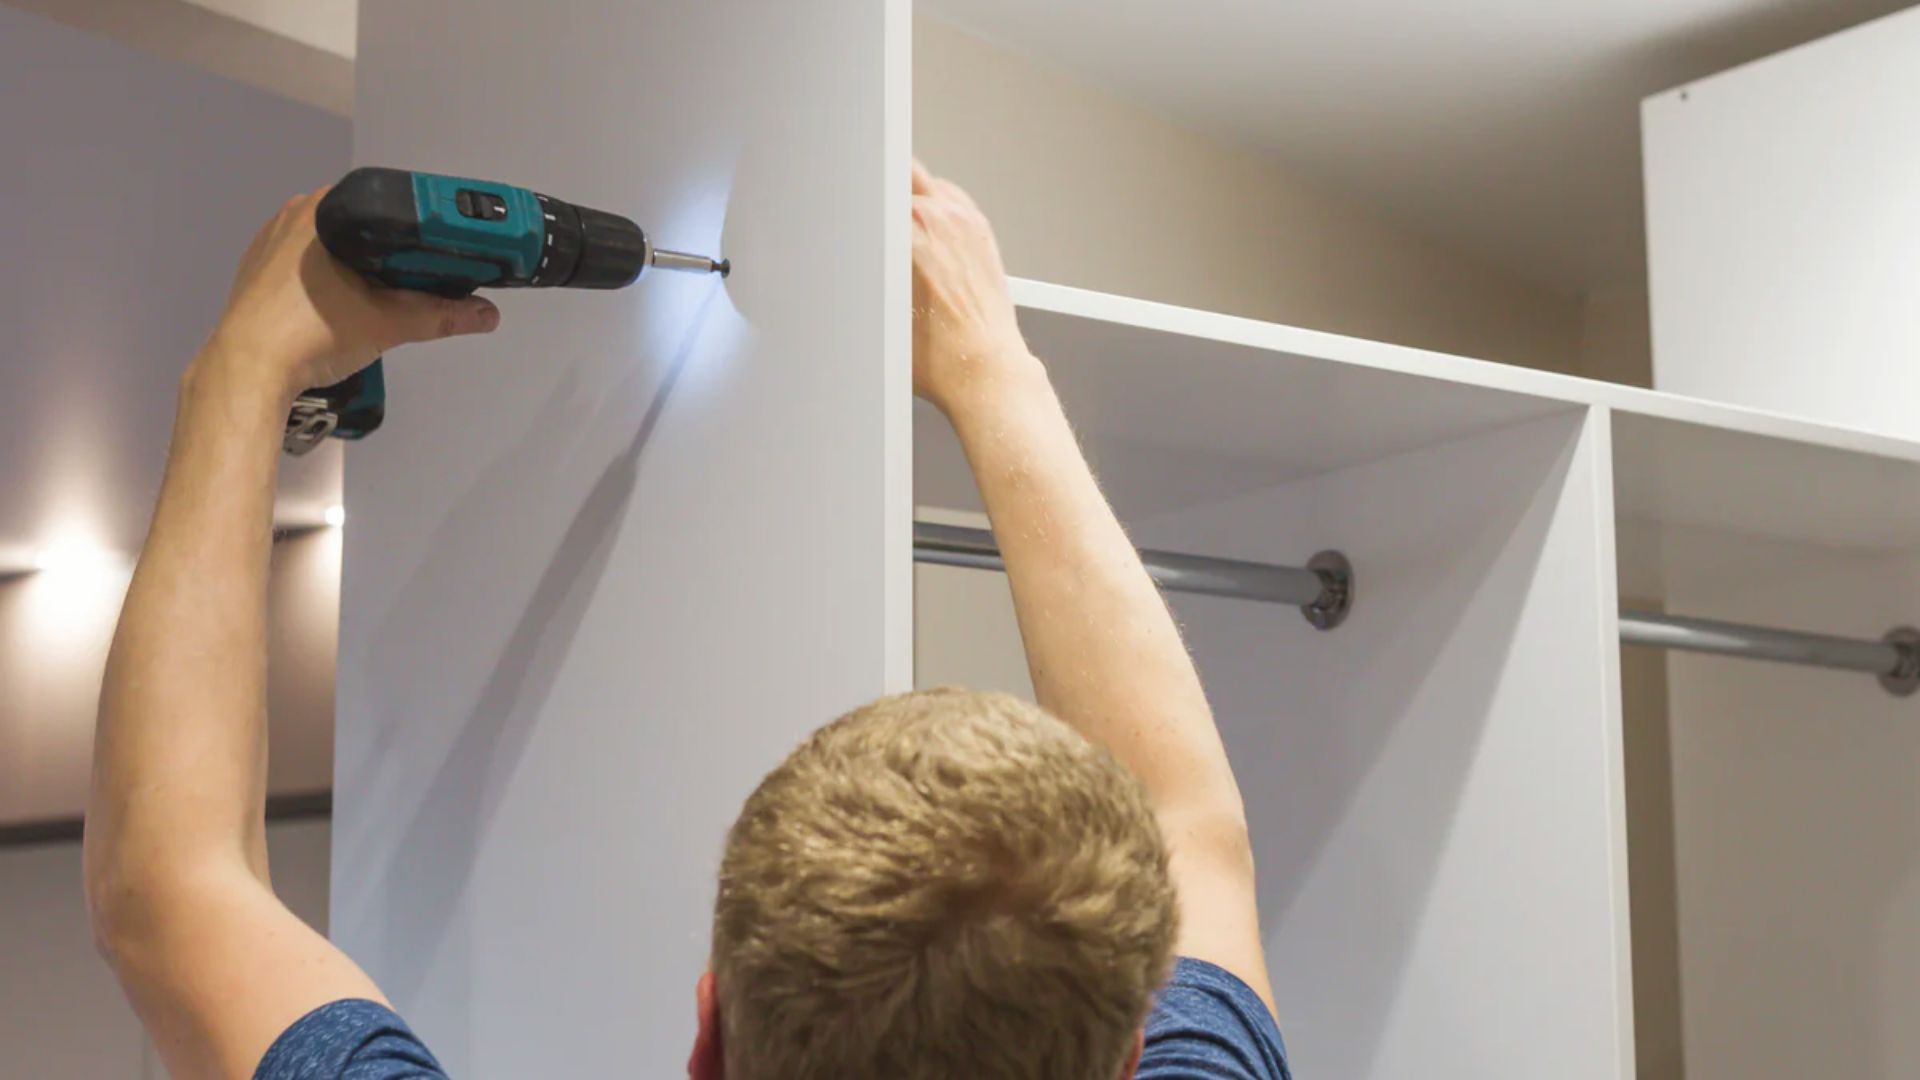
Drill small pilot holes at your marked spots before adding any screws. This keeps the wall from cracking and helps screws go in straight. Use a drill bit slightly smaller than your screw size for the best grip.
Step 6: Install Closet Rod Brackets Properly

Place each bracket over its pilot hole and drive the screws in firmly. The bracket should sit flat against the wall without any movement. If it feels loose, add a wall anchor before moving on.
Step 7: Cut the Closet Rod if Required for Fit
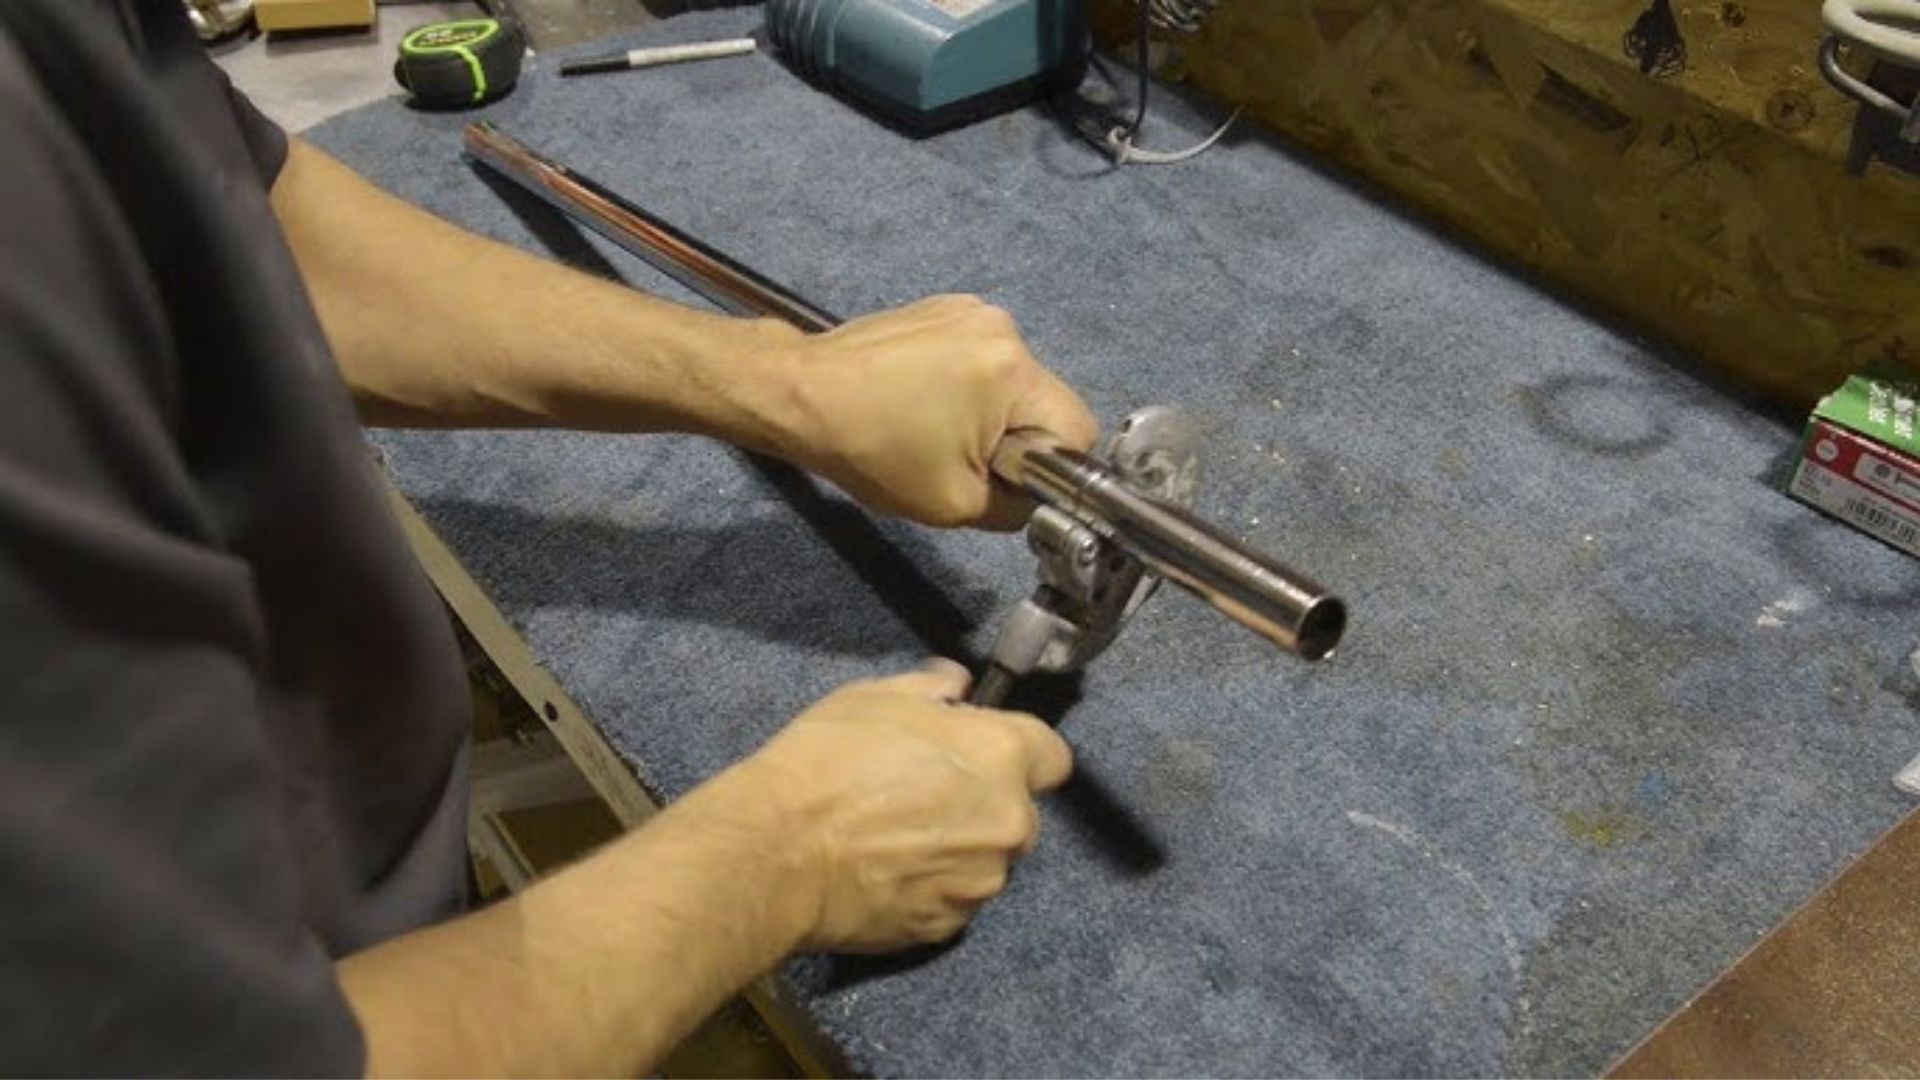
If the rod is too long, use a hacksaw or pipe cutter to trim it down. Always measure twice before cutting to avoid removing too much. The rod should fit inside the brackets easily without being forced.
Step 8: Mount the Closet Rod into Brackets
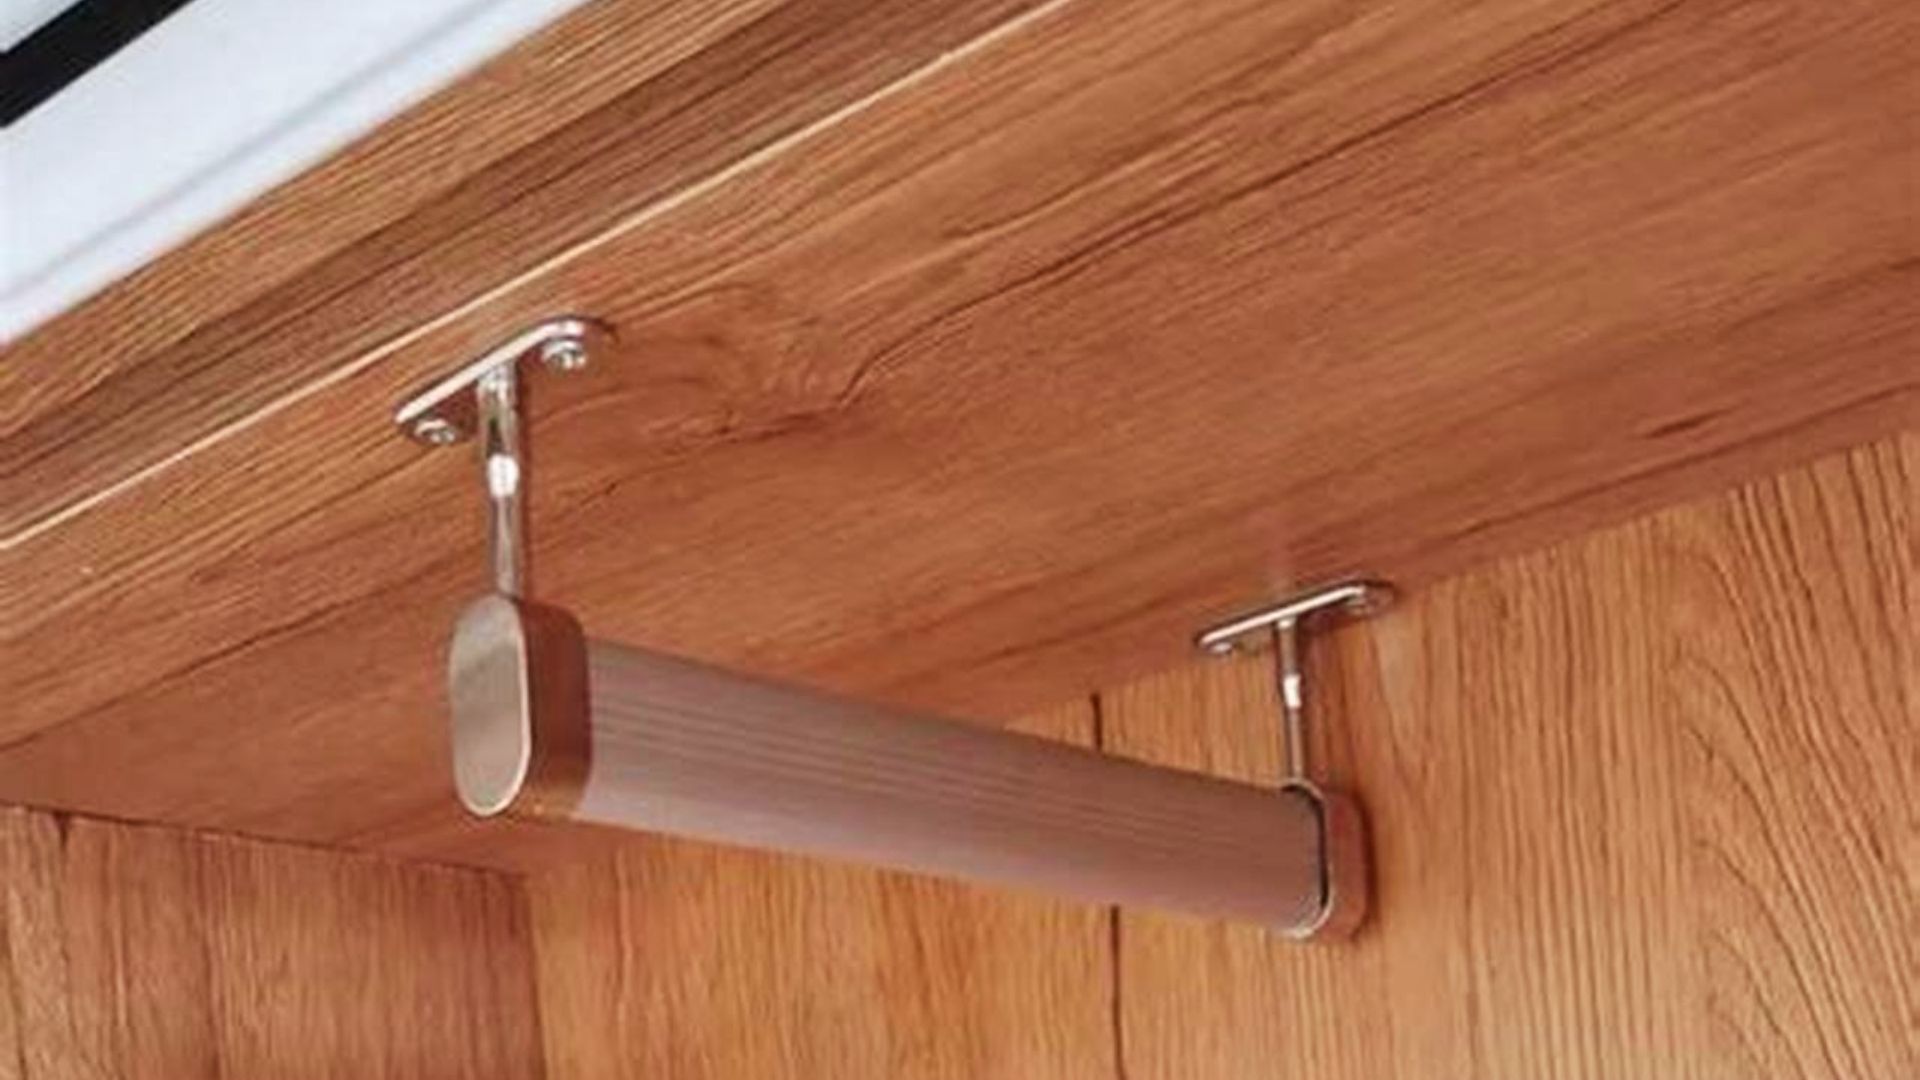
Place the rod into both brackets once it is the correct length. Some brackets lock the rod with a small screw while others use a lip or hook. Make sure the rod is fully seated before testing it.
Step 9: Check Alignment, Level, and Test Stability
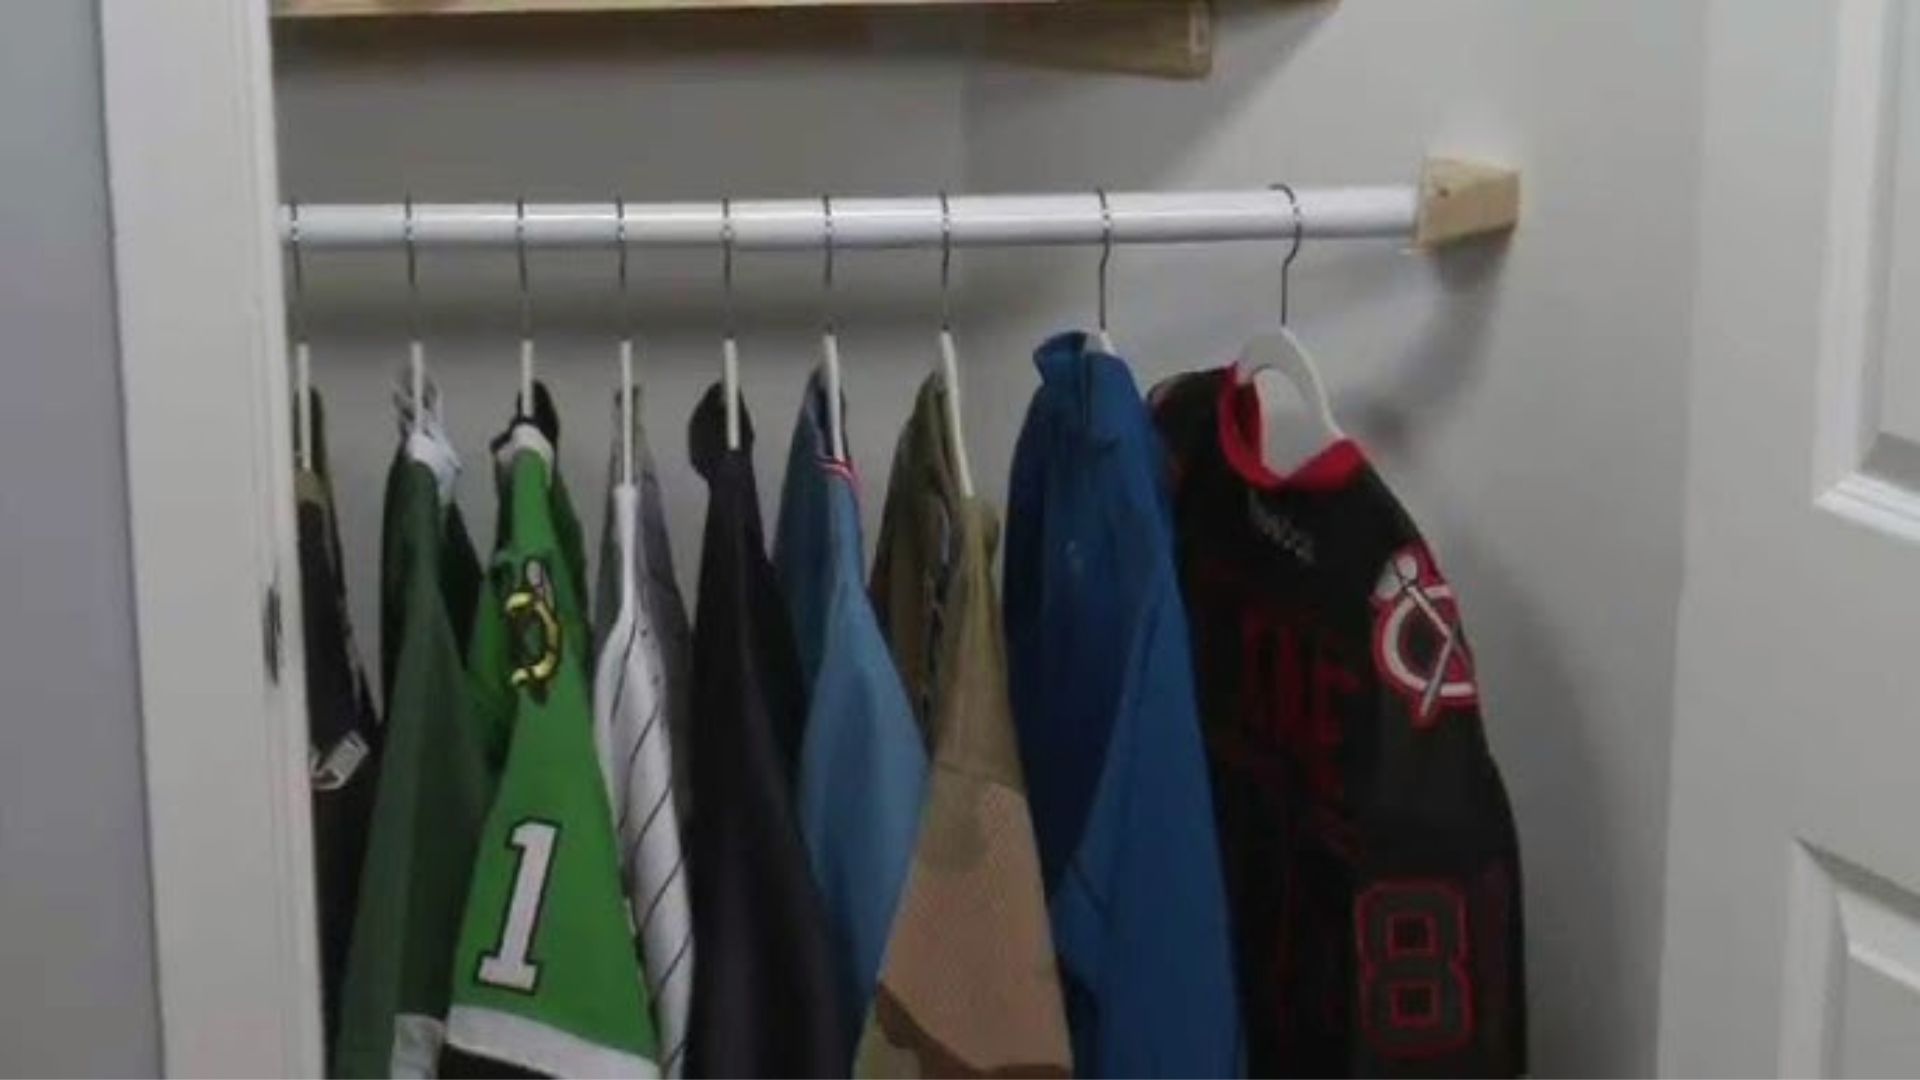
Give the rod a firm shake to check how stable it feels. Run the level across it one more time to confirm nothing shifted. Hang a few items to test the weight before loading the full closet.
Closet Rod Installation Instructions for Popular Brands
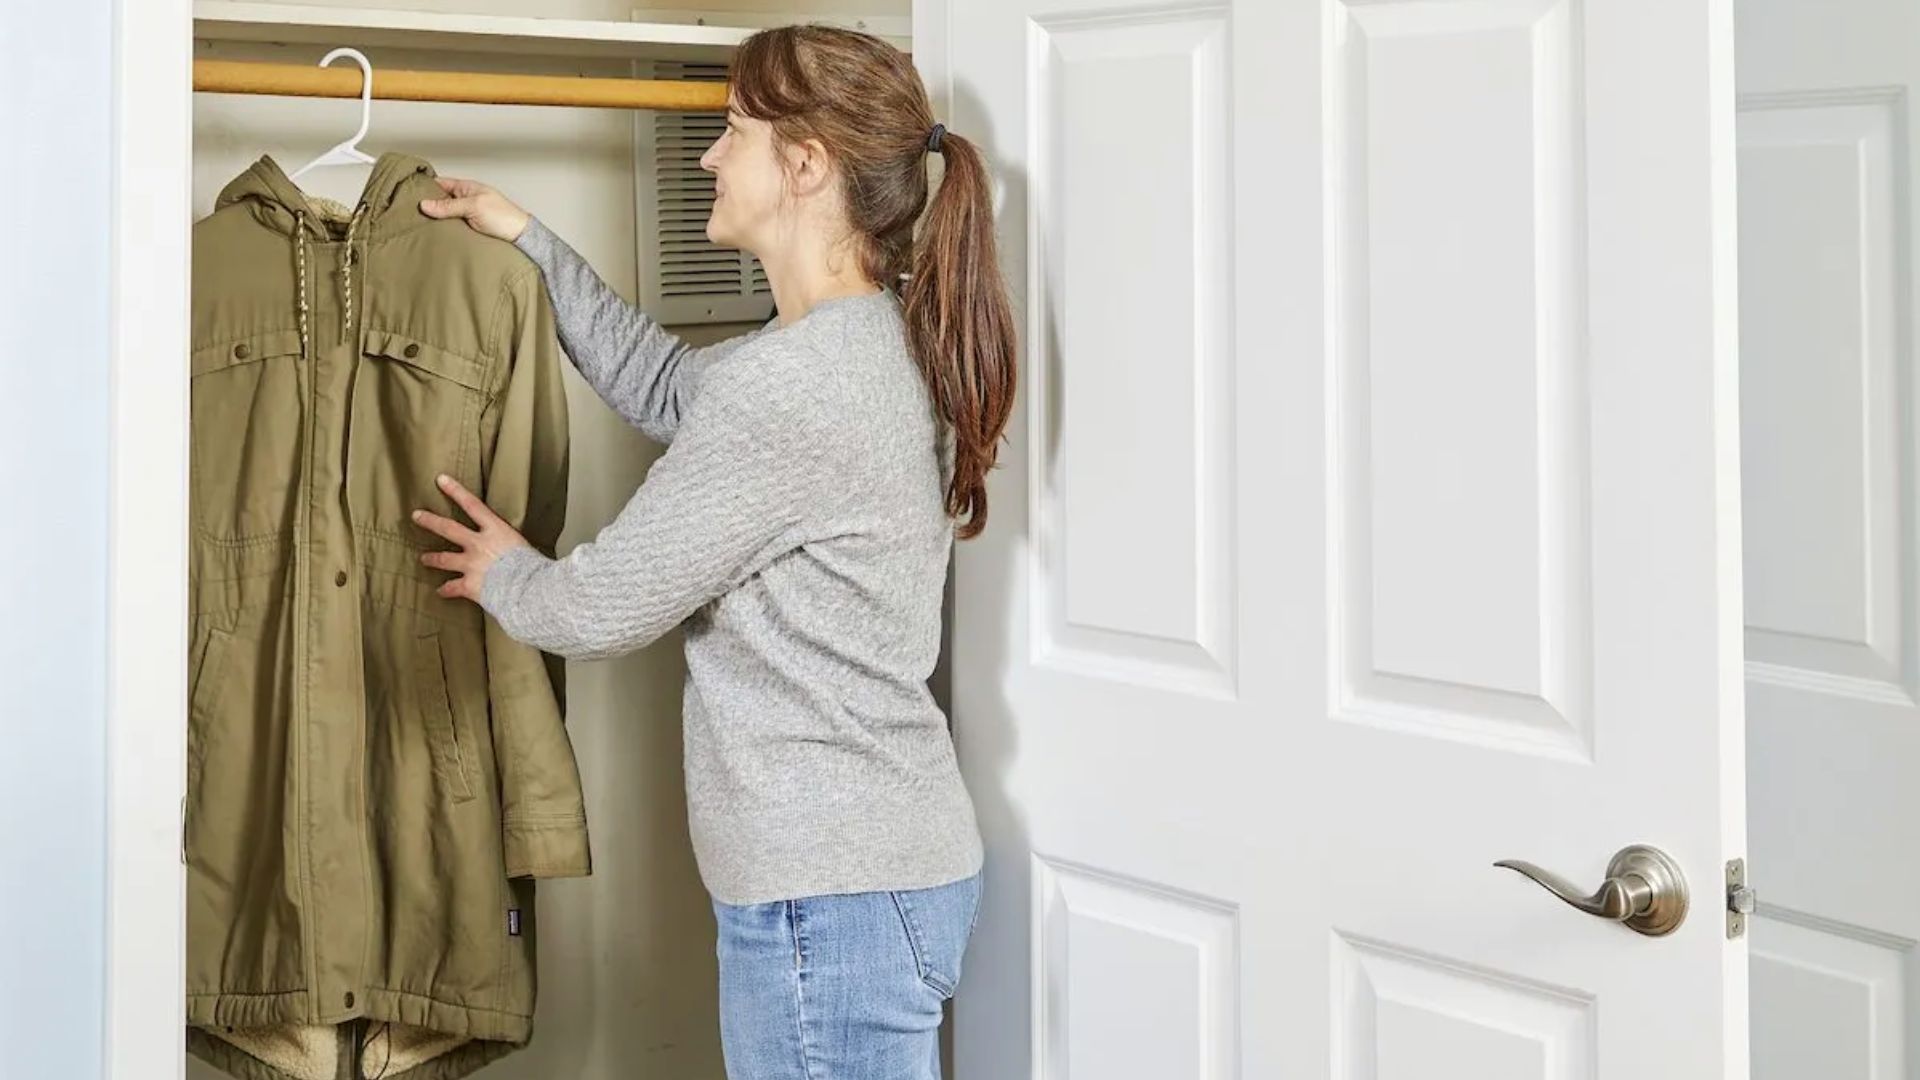
Different brands have their own setup steps, so knowing each one helps you work faster and avoid mistakes.
Everbilt Closet Rod Installation Instructions Explained
Everbilt rods come with brackets, screws, and a center support for longer spans. Their steel rods are built to handle a full load when mounted into wall studs.
Measuring your space before starting makes the whole process go much smoother.
Everbilt Adjustable Closet Rod Installation Video Overview
Everbilt adjustable rods can be extended to fit different closet widths without cutting. Their website and packaging include step-by-step video guides that are easy to follow.
I found these videos especially helpful when working in a closet with non-standard dimensions.
ClosetMaid Closet Rod Installation System Guide
ClosetMaid kits include shelving, brackets, and support hardware along with the rod. Their rods come in white or chrome and are made from steel for lasting durability.
The setup is similar to standard installation but may require assembling the shelving unit first.
Tips for Strong & Long-Lasting Closet Rod Installation
Small steps during installation make a big difference in how long your rod holds up.
- Always screw brackets into wall studs for the strongest possible hold.
- Use heavy-duty screws and proper wall anchors when studs are not available.
- Cut the rod slightly shorter than the wall-to-wall measurement for an easy fit.
- Check the level before final tightening to keep the rod straight.
- Avoid overloading the rod and stay within the weight limit recommended by the manufacturer.
Conclusion
Closet rod installation is simpler than it looks once you have the right steps in front of you. I did my first one with basic tools and a little patience, and it has held strong ever since.
Whether you are setting up a new closet or fixing an old one, following these steps will save you time and frustration. Go ahead and get started today.
If this guide helped you, leave a comment below or share it with someone who could use it.
Frequently Asked Questions
What is the standard height for closet rod installation?
The standard height for a single rod is between 66 and 72 inches from the floor. For a double rod setup, place the upper rod at 80 inches and the lower rod at around 40 inches.
Can I install a closet rod without wall studs?
Yes, you can use heavy-duty drywall anchors when studs are not available at the right bracket spots. However, anchoring into studs is always the stronger and more reliable option for long-term support.
How much weight can a closet rod hold?
Most standard closet rods hold between 45 and 100 pounds when installed correctly into wall studs. Always check the weight rating on your specific rod and bracket set before loading the closet.
What is better, fixed or adjustable closet rods?
Fixed rods are more stable and work well for closets with permanent storage setups. Adjustable rods are the better pick if you want the freedom to change your closet layout over time.
What tools are needed for closet rod installation?
You will need a drill, level, stud finder, tape measure, pencil, screws, and wall anchors. If the rod needs trimming, a hacksaw or pipe cutter will also be required.