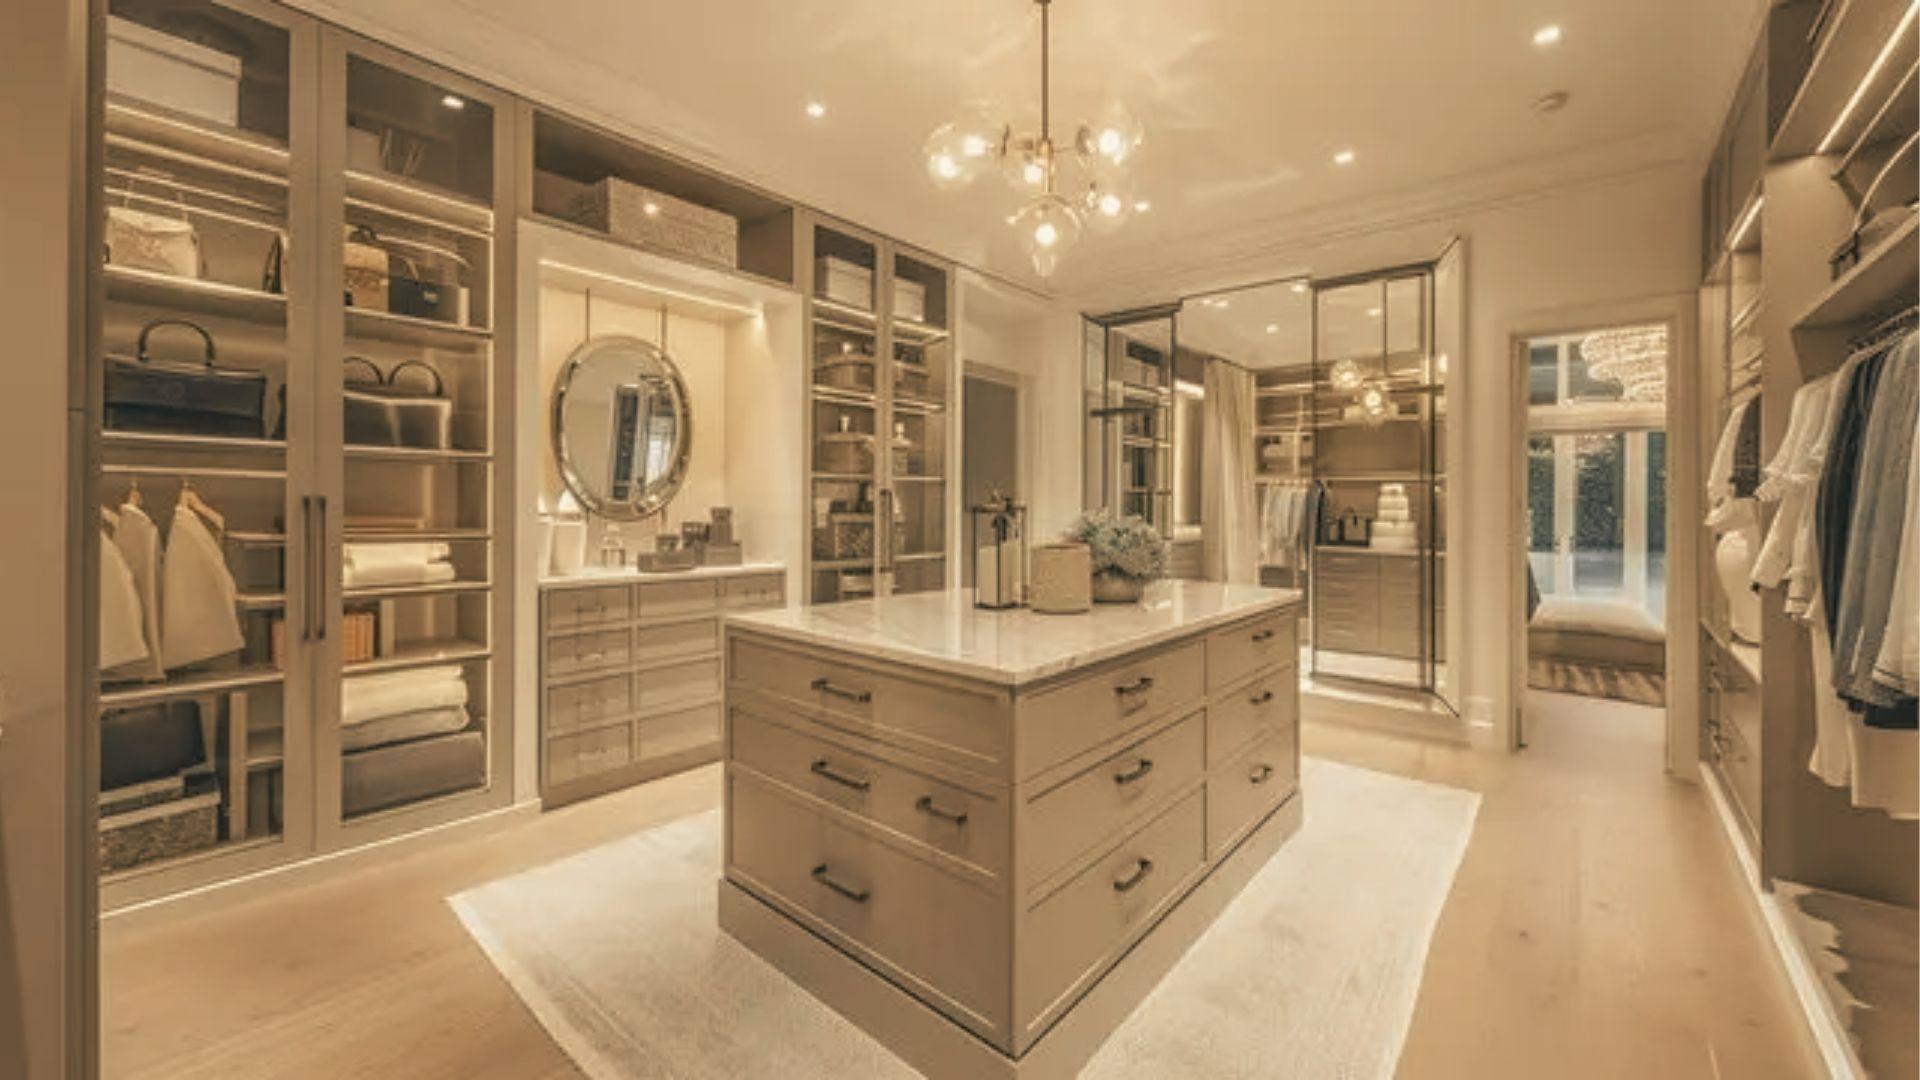
I've been there, staring at a messy closet with no idea where to start. Adding shelves to a closet without drilling is easier than most people think.
In this article, I'll walk you through a simple, damage-free method that works great for renters, apartment dwellers, or anyone who doesn't want holes in their walls.
You'll learn the materials needed, a clear step-by-step process, and tips to avoid common mistakes. With years of DIY experience, I can tell you this method actually holds up.
Why Choose No-Drill Closet Shelving

Choosing no-drill shelving is a smart move, especially if you rent. Landlords don't want wall damage, and this method keeps your lease intact while giving you the storage you need.
No holes, no marks, no repair bills when you move out. Traditional shelves often leave behind a mess that costs time and money to fix. This method skips all of that.
You also don't need special skills or a full toolbox to get started. The setup fits into a weekend, and taking it down is just as easy. Clean, simple, and flexible for any living situation.
Materials Needed for No-Drill Shelves

You don't need much to get started. These basic materials are easy to find and affordable.
Plywood or Wooden Boards
Go for at least ¾-inch thick plywood. Thinner boards bend under weight. Solid wood boards also work well if you want something sturdier.
Shelf Cleats or Support Strips
Cleats are flat strips of wood glued to the side panels. They act as ledges that hold each shelf in place. Cut them from leftover wood to save money.
Wood Glue, Clamps, and Basic Tools
You'll need wood glue to attach the cleats, clamps to hold things while the glue dries, a tape measure, a saw, and sandpaper. That's really all it takes.
Step-by-Step Guide to Add Shelves Without Drilling
Follow these steps in order and you'll have a solid shelf unit ready without touching a single wall.
Step 1: Measure Your Closet Space Accurately

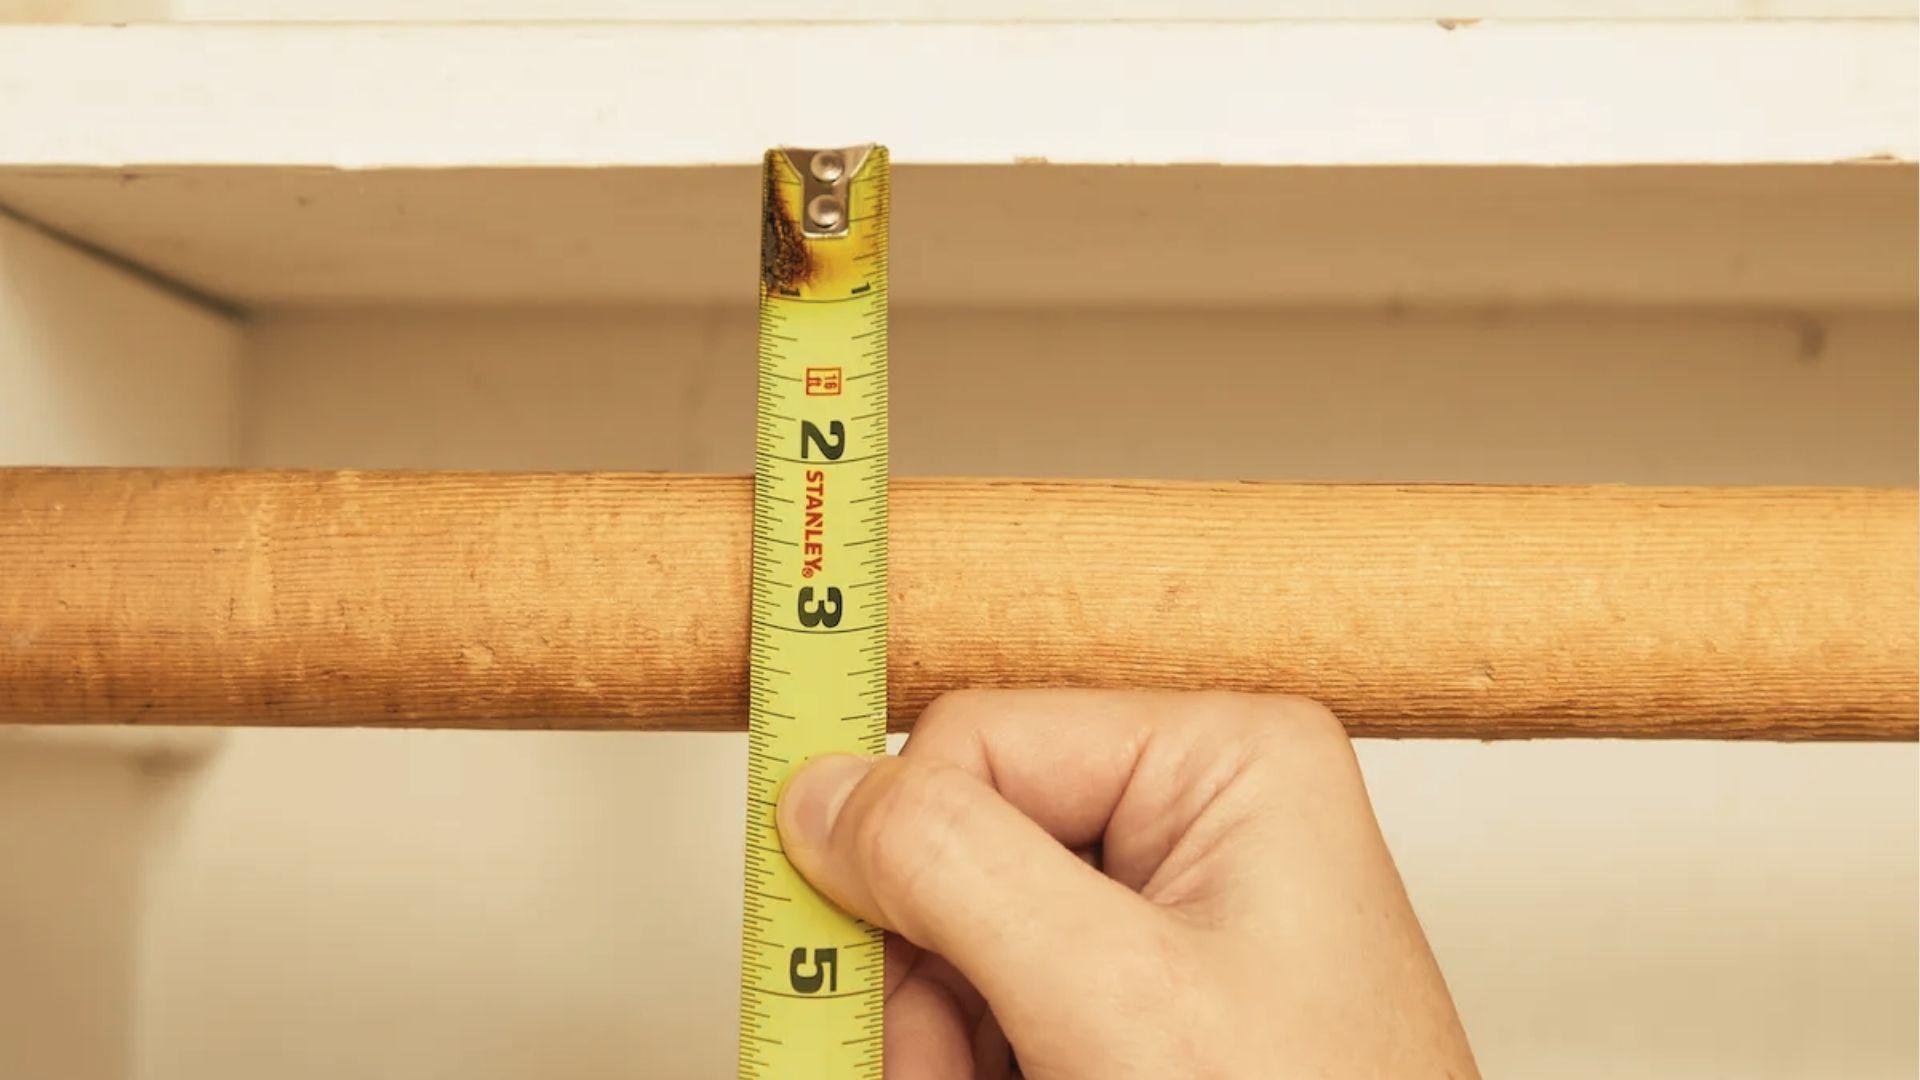
Start by measuring the height, width, and depth of your closet. Write every number down as you go. Always measure twice before cutting any wood.
A small mistake can make the whole unit too loose or too tight to fit right.
Step 2: Cut Side Panels and Shelves to Size

Cut two side panels to match the full height of your closet. Then cut your shelves to fit the width you need. Make each shelf just a little shorter than the inside width.
This helps them slide in smoothly without forcing anything.
Step 3: Attach Cleats to Support Shelves
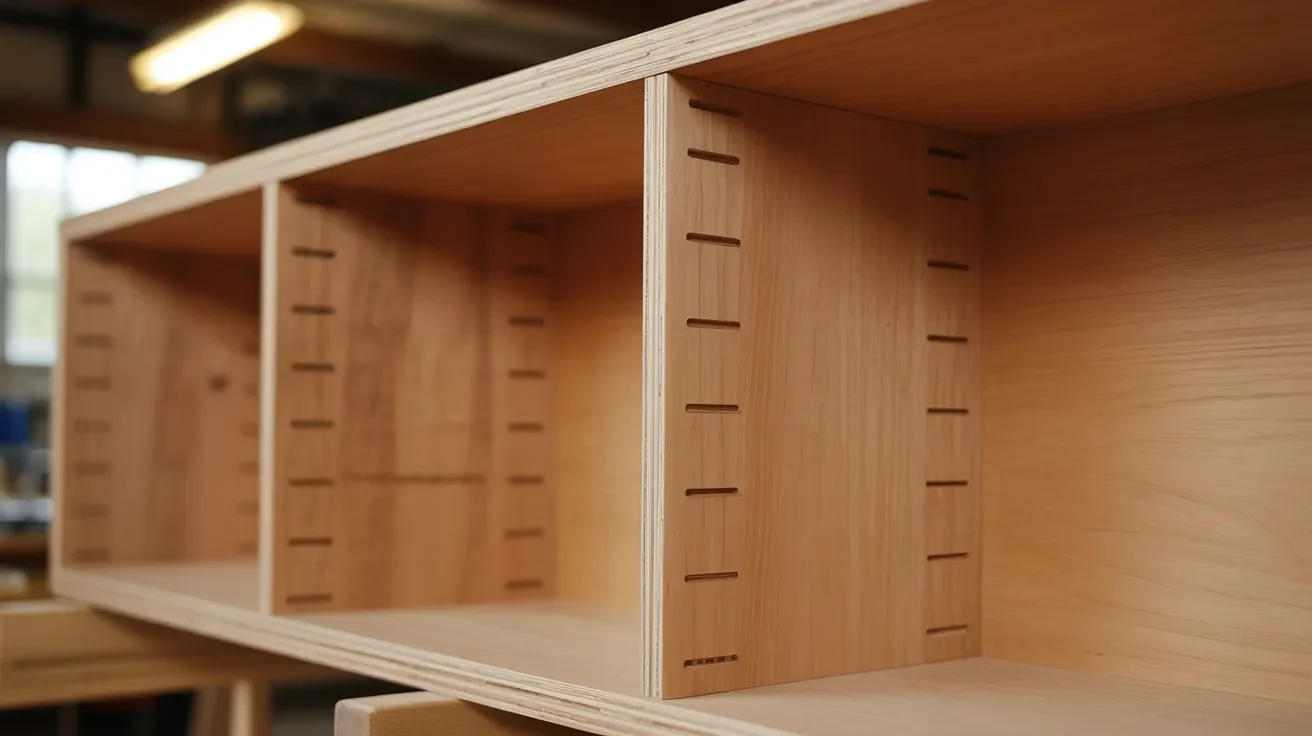
Mark the spots on the side panels where each shelf will sit. Glue a cleat just below each mark on both panels. Use clamps to hold them in place while the glue dries. ‘
Give it a full 24 hours before moving on.
Step 4: Assemble the Side Panels Structure

Stand both side panels upright inside the closet. Push each one firmly against the left and right walls. The fit should feel snug and solid, not wobbly.
Make sure both panels are stable before you add any shelves.
Step 5: Insert Shelves for a Snug Fit

Slide each shelf in one at a time, letting it rest on the cleats. The fit should be firm but easy to place. Give each shelf a gentle press to check it feels secure.
If anything wobbles, trim the board slightly or adjust the cleat position.
Common Closet Problems This Solves

A simple shelf system can fix several frustrating storage issues without a big renovation.
Limited Hanging Space
When everything piles on one rod, you lose usable space fast. Adding shelves below or above the rod creates room for folded clothes, boxes, and bins.
This small change can double your storage without touching a single wall.
Wasted Vertical Space
Most closets have unused space near the top and bottom. Shelves let you use the full height of the closet instead of just one level.
That extra space adds up quickly when you need room for seasonal items or extras.
Small or Awkward Closet Layouts
Odd-shaped closets are hard to organize with store-bought furniture. A custom no-drill unit fits exactly where you need it, no matter the shape.
You cut the boards to match your space, so nothing goes to waste.
How the No-Drill Shelf System Works
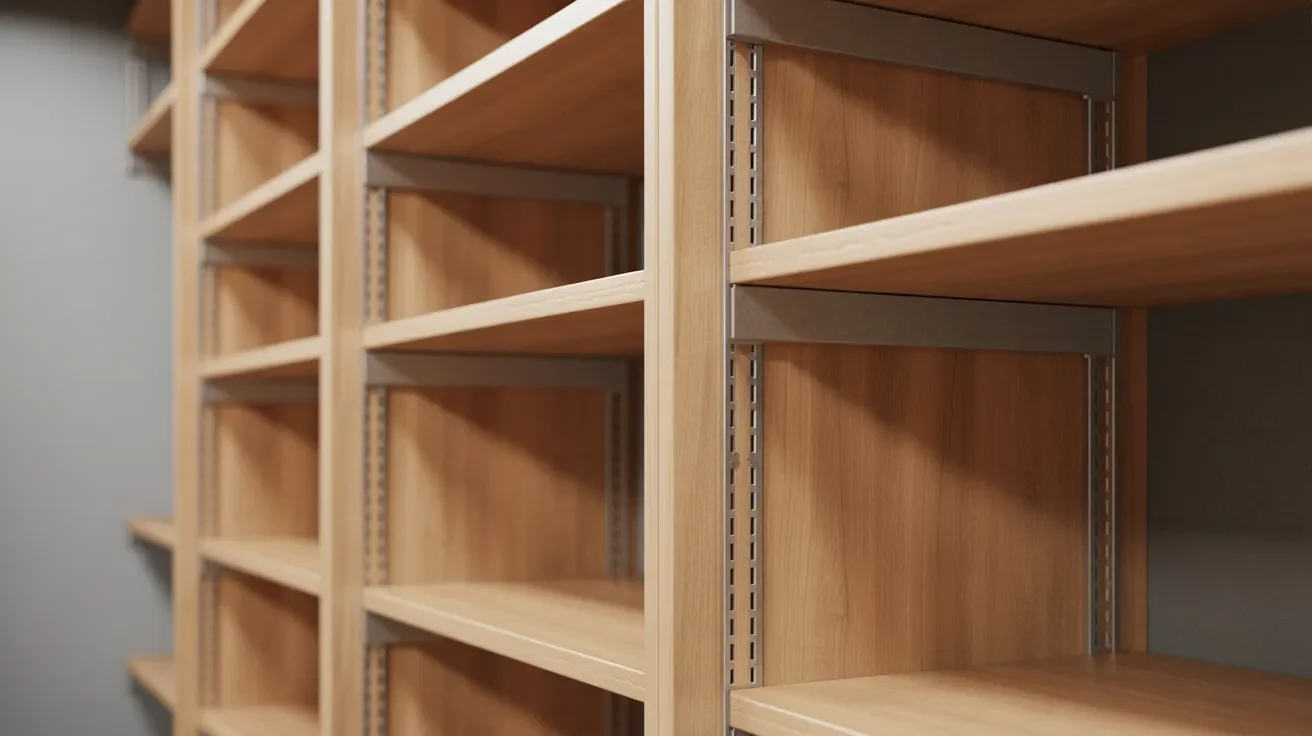
The secret is simple physics. Tight fits and pressure keep everything stable without any hardware.
Using Pressure and Tight Fitting for Support
The side panels press firmly against the closet walls on both sides. The weight of the shelves pushes down on the cleats, creating natural resistance.
This pressure holds the whole unit together without any wall attachment. The heavier the load on the shelves, the more stable the entire structure becomes.
Why No Screws or Hardware Are Needed
Screws anchor shelves directly into walls, but this system works differently. It relies on a snug fit between the panels and the closet walls instead.
The pressure created by the tight fit keeps everything locked in position. As long as the panels sit firmly against both walls, the shelves stay in place on their own.
Common Mistakes to Avoid
Avoiding these common errors will save you time, money, and a collapsed shelf.
Using Thin or Weak Materials
Boards under ¾ inch will bend or crack over time. Always use thick, solid material for your panels and shelves. It costs a little more upfront but holds up much longer under regular use.
Incorrect Measurements
A loose fit means the unit will shift or wobble over time. Too tight and the panels simply won't slide in. Measure carefully, write it down, and always do a dry fit before gluing anything permanently.
Overloading Shelves
Even strong shelves have a limit to what they can hold. Don't pile heavy items all on one shelf at once. Spread the weight evenly across all levels to keep things stable and safe.
Tips to Make Installation Easier
Small steps before finishing can save you a lot of trouble later.
- Test the side panel fit before anything is final Press the panels against both walls. They should feel firm with no wobble or gap.
- Fill any gaps with a thin wood strip Even a small gap weakens the whole unit. A thin filler strip solves this fast.
- Sand all cut edges before installing rough edges, scratch walls and snag clothes. A quick sand keeps everything clean and smooth.
- Do a dry run before gluing cleats. Place shelves without glue first. This helps you spot problems before they become permanent.
- Check each shelf level with a flat tool. An uneven shelf tips items over time. A quick level check takes less than a minute.
- Push on each shelf from different angles before loading it If anything shifts too much, fix the fit first. Load items only after everything feels solid and stable.
Conclusion
I hope this guide makes your closet project feel doable. Adding shelves to a closet without drilling is one of those DIY wins that feels great once it's done.
I remember finishing my first no-drill shelf unit and thinking, "Why didn't I do this sooner?" You don't need tools, talent, or a big budget. Just a plan and a little patience.
Give it a try this weekend. If it helps, drop a comment below or share this with a friend who needs more closet space!
Frequently Asked Questions
How much weight can no-drill closet shelves hold?
With ¾-inch plywood and proper cleats, shelves can hold 30 to 50 pounds per shelf. Spread items evenly and avoid stacking everything in one spot.
Will the shelves fall if I bump into them?
A well-fitted unit stays in place from pressure alone. As long as the side panels fit tightly against the walls, normal bumps won't cause any movement.
Can I use this method in a small closet?
Yes. This method works especially well in small closets because you can cut the panels and shelves to fit any size, no matter how tight the space is.
What type of wood is best for no-drill shelves?
¾-inch plywood is the most practical choice. It's strong, easy to cut, and widely available. MDF also works but is heavier and less moisture-resistant.
Can I paint or finish the shelves after installation?
Absolutely. Sand the surfaces first, then apply paint or wood stain before assembling. Finishing before installation is easier and gives cleaner results.